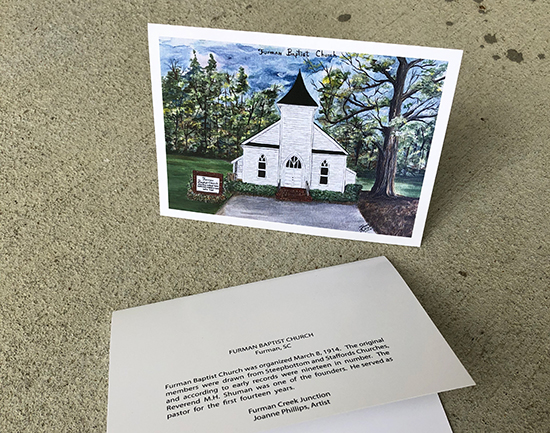
This week, we helped a local artist, Joanne Phillips, in South Carolina, convert her canvas painting into beautiful prints. She needed to quickly (and cheaply) turn a physical painting into sellable prints. In most cases, this is not very difficult to accomplish if you are in a hurry. These next steps outline a practical approach for many artists but are not a high-end method (we will cover that on a future post).
Step 1 – Taking a picture
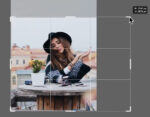
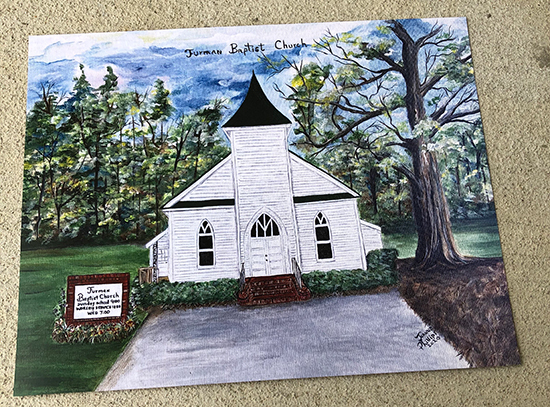
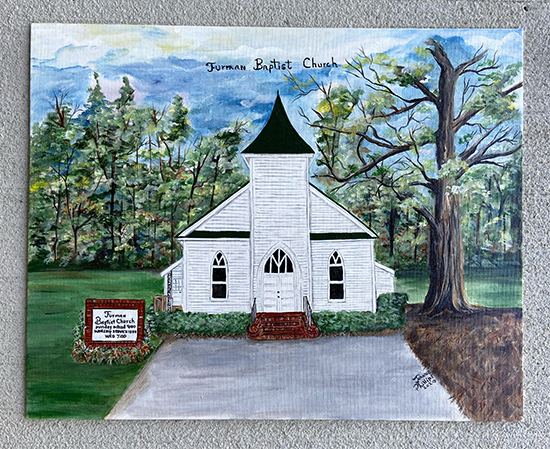
The first thing you must do is find a lighted area for your photos. Most professionals agree that this the most critical step in converting your physical painting into sellable prints. We love taking pictures on cloudy days, but any place with natural light, not directly under sunlight, should work fine. You may have a wonderfully bright area in your home that will suffice.
If you do not have an expensive camera set up, your phone camera will probably do very well for prints up to 8×10. In Joanne’s case, we are using an iPhone 11 at factory settings. Amazingly, we produced 11×14 prints and 5×7 folded cards at high resolution.
Step 2 – Adjusting the image
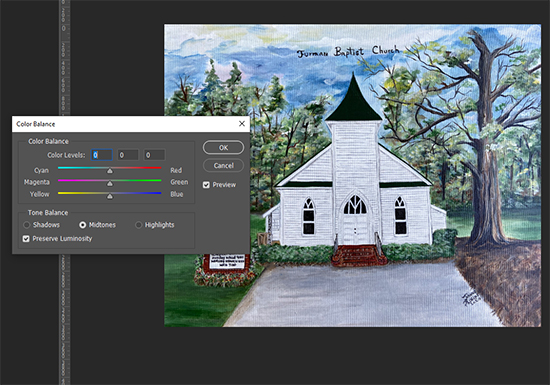
Some of you can skip this aspect if you have no experience with Adobe Photoshop. I will add that you should consider learning how to use this popular graphics software so you can trim, crop, and adjust colors. In Joanne’s case, we just snapped a bunch of pictures and selected the best image.
We did not need to manipulate colors, but we did resize the art and crop areas to create a proper 11×14 image for printing. If you are not sure how to resize your artwork, send us the original photo once you make an order. We can handle the rest.
For us (or any commercial printer) to print your new file in high quality, make sure the resolution is at least 300 dpi at the size you would like to print. Or make sure the image is much larger than the print size you desire so it can be worked with. You can check image size and resolution in Photoshop by clicking on “IMAGE” then “IMAGE SIZE.”

Step 3 – Test Printing
Now that we have workable files, we need to start printing. If you are printing with a commercial printer, it is probably a good idea to review a digital or physical proof ahead of time. You can also consider printing a small batch or single print.
Digital proofs will allow you to visualize the bleed area and discover noticeable color transitions that occur when switching to CMYK color mode, but what you see on screen may not accurately represent the final print. There’s nothing like the real thing.
Once you’ve received your test prints, this is a good time to start making changes on your side. This could mean new photos, graphic changes, or simply a new printer.
And Finally…
Now you are more familiar with converting your physical paintings into prints. Learn how to get started selling your pictures by reading this next article. You will read more details about achieving higher quality photographs, picking standard print sizes, and learning about paper specifications.