I have never sold artwork before. But I do own a print company that produces art prints for thousands of painters, photographers, and other artists every year. Our company has guided art veterans to spirited newcomers for over a decade, and I guess it never really occurred to me how bewildering it can be for new artists wanting to start selling prints at expos, comic-cons, galleries, cafes, or any other store willing to host the inventory.
If you are selling at Comic Cons or expos, simply visiting or talking with your peers should answer many questions. Some of you don’t have that luxury quite yet. Maybe you have a bunch of original artwork lying around, and you are now ready to start selling. Once you dig deep into the logistics, specifications, print companies, pricing and marketing, the whole ordeal becomes overwhelming.
I learned this first hand over the past weekend. My wife’s cousin is a young stay-at-home mother and wonderful artist who has been painting for years, but has never produced prints of her work. Recently, a few local art stores, restaurants, and cafes expressed interest of selling her work. It is likely, she has been knocking on doors bravely putting herself out there to find locations willing to display her work so she can start generating actual income for herself and continue doing what she loves.
In this article, let’s try to overcome some of the basic obstacles of the process in a simple breakdown of each problem you may face.
Problem 1 – Converting original art into digital format properly for printing.
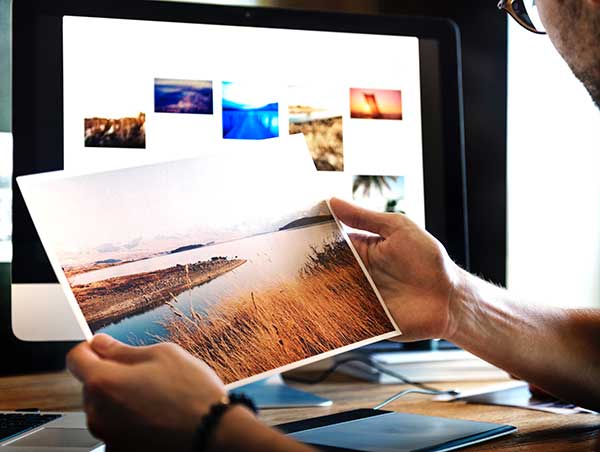
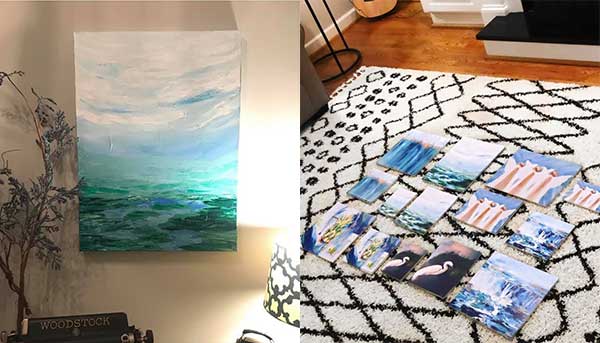
Let’s name my cousin-in-law Jennifer for this article’s sake. Jennifer has a bunch of physical art on canvas that needs to be converted into a digital file. There are only a couple of good methods to accomplish this.
- Scan it at home – If your artwork is small (8.5×11 and under), it is easy to buy your own scanner at Best Buy or Staples. Almost every scanner on the market can produce high-resolution files that will work well for any local or online commercial printer. Your smartphone can also be a valuable weapon especially if you cannot scan your painting with a flatbed. You can find some pretty nifty scanning apps (like FastScanner) that will also help with scanning quality images as specific sizes.
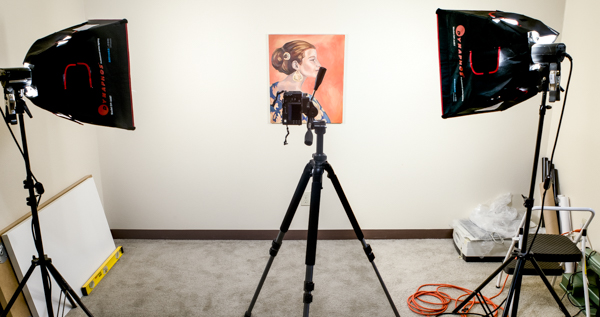
- Take your own pictures – Your paintings may not be scannable if they are wrapped around bars or delicate. I recommend hiring a photographer to help you with this, but some just do not have the budget for that. You can use most smartphones to take pictures of your artwork. Just do the best you can in the best lighting possible. Make sure your picture settings are at the highest quality possible.
Here are a couple resources to help you make great photos of your art. Don’t let this perturb you from getting started. We work with many artists that simply use their smartphones at home. The below links are worth reviewing since they might give you a few tips to make your photos better.
Problem 2 – Selecting print sizes
Once you visit on online commercial printer’s website, you instantly realize there are oodles of choices. Most printers offer services to more than just artists so they have many sizes, paper, and products. Even printers like us focused on artists offer many sizes. Where should you begin?
First, I would stick with sizes that are easily framed. If you walk into Michael’s, Hobby Lobby, or even Walmart, what frames are available for Jennifer to place her art into? If you are selling prints without mattes and frames, customers will also want to easily find frames to showcase your art at their home or office.
Different industries focus on different sizes. For instance, 11×14 is far easier to frame than 11×17 prints. Yet, if you walk into an artist alley at any Comic Con, artists are sticking with 11×17. Here are the most common sizes you should stick to:
- Small sizes: 4×6″ or 5×7″ – Yes, there are many other sizes, but we are just getting started and need to keep things simple.
- Medium sizes: 8×10″ or 8.5×11 – Both of these sizes are VERY common and easy to frame. You cannot go wrong with either, but 8×10″ is my personal favorite of the two for artwork.
- Larger sizes: 11×14″ or 11×17″ – Let your artwork dictate which size to use. Many of our customers may select 11×17″, but the file is 11×14″ so we advise them to switch sizes. This also occurs vice versa.
- Square sizes: Many artists are not thinking size when stroking that masterpiece. We see a lot of square-ish art. Thankfully, there are universally recognized square sizes like 8×8″, 10×10″, and 12″x12″. There are other accepted square sizes, but again, we need to keep things simple.
Try picking only two or three total sizes at first (preferably three to meet different price points). You can always change and add to your choices later. The less fancy we start out, the easier it is to get started printing for awaiting venues.
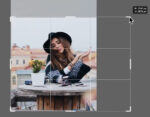
Problem 3 – Manipulating your art to fit the sizes you desire
Okay, Jennifer had problems with this one. At our company, Printkeg, we usually adjust problematic customer artwork for $9 and call it a day. Many other companies do not offer that service. If you want to do it yourself, there are some methods to be familiar with.
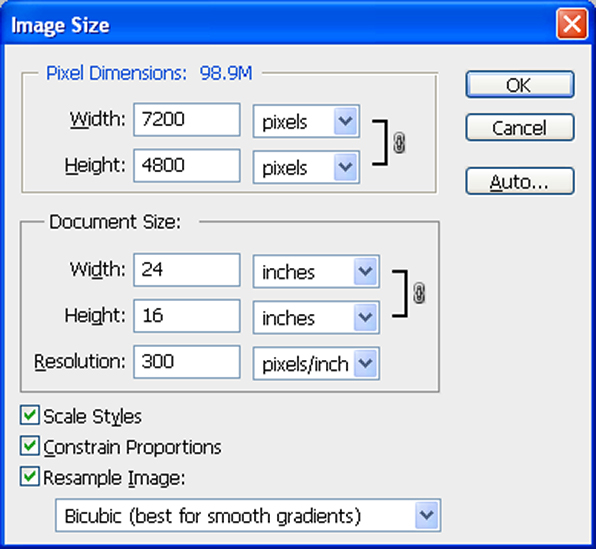
- Learn to use Adobe Photoshop. This is the industry standard of resizing, cropping, and editing images. Adobe offers their full suite of software for $55 per month or access to just Adobe Photoshop for $10 per month. I strongly suggest learning this program if you don’t already.
- Find a professional to help you. Any knowledgeable graphic designer should be able to help you size your artwork to fit the specifications for printing. You not only need to worry about size, but you also need to pay close attention to resolution – 300 dpi being the standard.
This article at Oberlo’s blog provides a shortlist of other (and free) image resizing tools, but I still prefer Adobe or a professional. Again, our company inspects all artwork and can usually fix any size issue for only $9.
Problem 4 – Choosing a Paper Type
Paper is complicated, and we discuss paper thickness in another article. The type of paper is also going to play an important role in selling artwork, and there are oceans of choices out there including glossy, satin, textured, uncoated, matte, linen, silk, aluminum, metallic, photographic, and so much more. But we are trying to make things easy at first.
- I recommend “matte” or “uncoated” paper types for most artwork. Glossy finishes are preferred by some, but I personally stand by the matte papers.
- Make sure the paper is “card” or “cover” and NOT “text” or “book”. Card and Cover stocks will be more durable and opaque.
- Make sure your paper is at least 14pt or 100#. I do not recommend a “100# text” or “100# book” stock since those would be purposely lightweight. It should read “100# card” or “100 cover”. All print companies do not use the same terminology or paper manufacturers, but thankfully most of them describe the paper types somewhere on their website. Many online printers offer card stocks beyond the 14pt minimum – 16pt being the favorite.
- At Printkeg, select “Matte Card (100# Cover)” as your paper choice. This is a well-rounded paper selection since it is durable, affordable, opaque, and high-quality. For a satin glossy alternative, select “Gloss Card (110# Cover)”.
Also, get familiar with common print terms we drafted a while back.
Conclus ion
You are new to the world of selling your prints, and that is okay. Printing can be a complicated world, but together, we can get you started. If you have any questions at all, please feel free to email our customer staff at [email protected]. You may also email me directly at [email protected], but the response time may be slower that emailing customer service. Here is what Jennifer had to say about her prints:
You guys!! Prints of my originals are in! Massive thanks to PrintKeg.com for helping me out on such short notice and delivering beautifully!