Printing your photographs for resale purposes is easy and rewarding. The process does not have to be complicated or stressful. Today, we will show you how to prepare your files for high-quality printing.
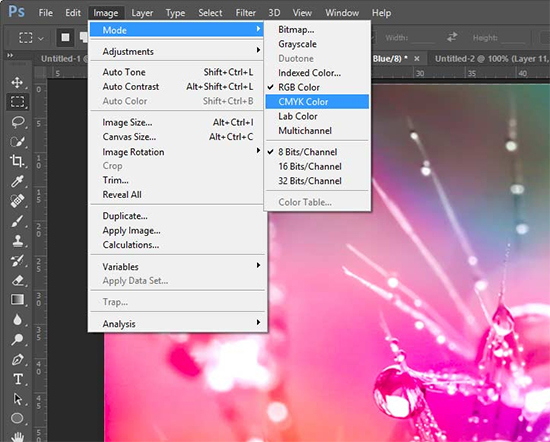
Let’s talk about the color mode.
I like to start with the most technical first before our brains hurt. The two most common color spaces or color modes to work in are sRGB and CMYK. The first color space, sRGB, is going is ideal for inkjet printing. If none of this makes sense to you, don’t worry. The print company you choose will automatically convert your file for you. Color can get A LOT more complicated, but 99% of us don’t have that kind of time.
sRGB – Many cameras take pictures with sRGB Profile by default. Depending on the camera, you may or may not be able to change this setting. Monitors display the internet with sRGB. Visually, it has brighter colors than CMYK. However, it has a smaller gamut than Adobe RGB and ProPhoto. Colors often look more saturated. Many printers and print studios prefer Adobe RGB over sRGB.
CMYK – CMYK is a color model, rather than a color space. This color spectrum is the industry standard for 4-color printing in magazines, newspapers, and flyers. CMYK is usually required when printing on a press. Many artists select this method for economic purposes.
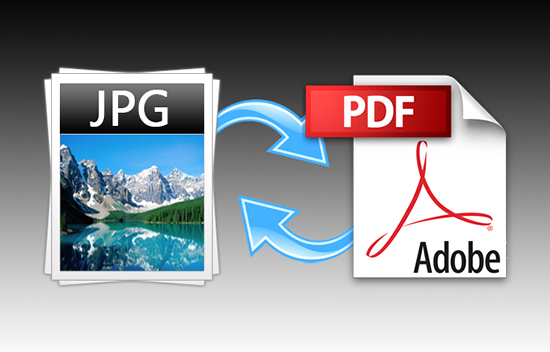
What is the right file type for printing your photographs?
Two file formats are great for photography printing – JPEG and PDF.
For photography printing, the JPEG file format is very common. This file type is suitable for full-color realistic images with millions of colors and contrast transitions. Your picture quality is very high with a small degree of compression.
PDF files also have many perks. Printers and print companies accept these files for their versatility. They are customizable, ideal for file sharing, appear the same across devices, and can be easily optimized for optimal printing.
Both file types are suitable for printing photographs.
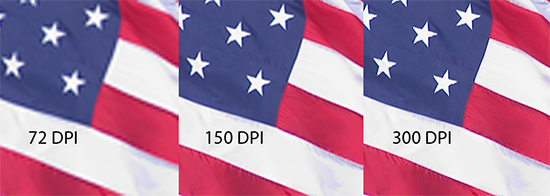
The resolution is very important.
Be sure to keep your photos file resolution at least 300 pixels per inch (PPI) for optimal quality. We typically use the old school term, dpi (dots per inch), since we are printing. I recommend that you save your photos as 600ppi+ to give yourself greater flexibility. The high resolution ensures prints are crisp and bright. In some cases, our print company will take as low as 150ppi, but that does require the customer to permit a lower standard.
Learn more about PPI and DPI at DifferenceBetween.com.
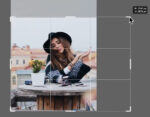
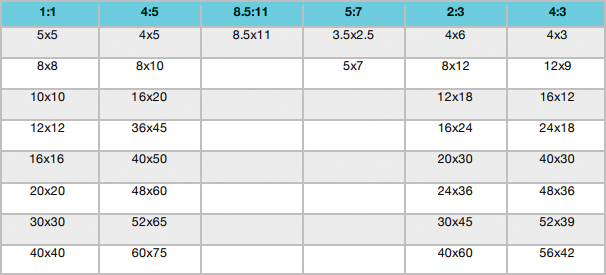
Prepare for photos for the right print size.
Before submitting your file to a print company, make sure to put thought into the print size or aspect ratio. For instance, an 8×10 must be cropped at a 4:5 aspect ratio to fit correctly. Also, different print companies require varying bleed or trim areas. Our company won’t bother you with those boring details if your aspect ratio is close to correct.
We hope this information helps you begin the process of printing your photographs. If you have any questions at all, please feel free to contact us. If you are a painter, you may enjoy How to Turn a Physical Painting into Sellable Prints.