![]()
Some of us are not designers by nature or nurture. Thanks to an online platform called Canva, normal people can create stunning and professional designs for almost any situation. We don’t feel that anything can truly replace a human graphic designer, but Canva comes pretty close! Today, we demonstrate how to create a well-designed double sided postcard within a few minutes using Canva.
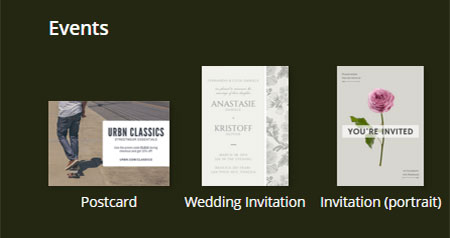
Choosing a template
First, when you initially log in to Canva, you are directed to the templates area. Under “more options” in the “events” section, you will find a “postcard” template. Select that guy.
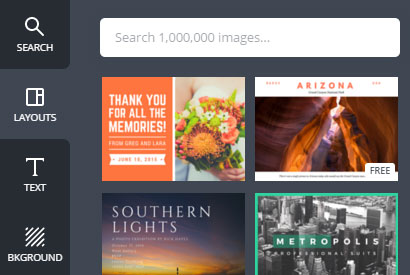
Find a design
Now, Canva will present many 4×6 postcard designs that look great. For non-designers, this is a dream come true. Once you have found the template you like most, click on it. Try to visualize and consider any art or photos that you intend to use.
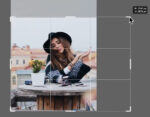
Upload your art
This is a good time to go ahead and upload your art or photographs into Canva. We are only uploading one photograph, and the system handled a 300 dpi file like a boss.

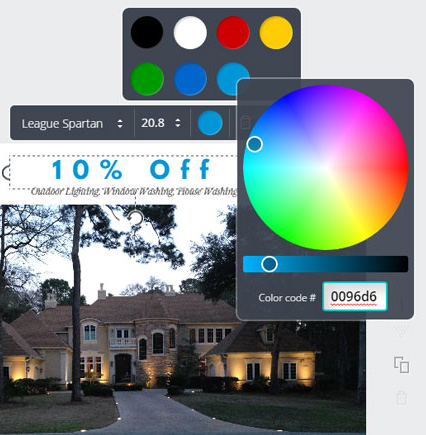
Change text and colors
Now go ahead and start changing the text and colors of the design you selected to match your brand. Try to stick with the fonts and layout that Canva provides to maintain a professional appearance.
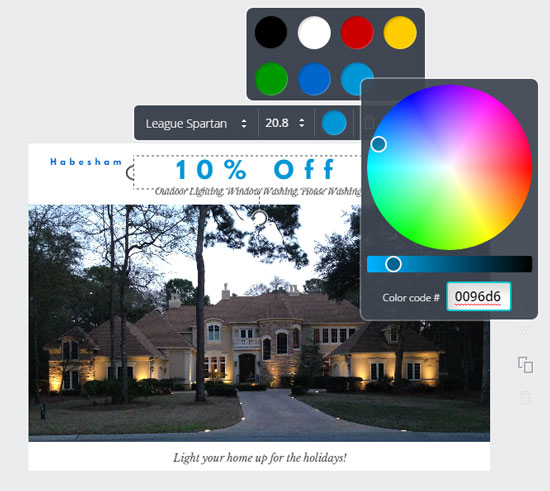
We completed the first side of our postcard within a few minutes.
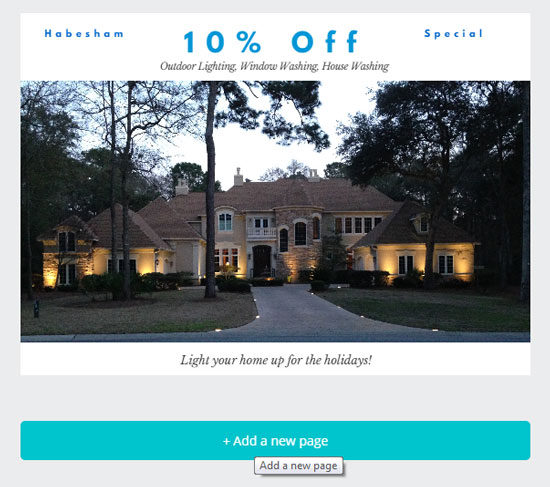
Add a second side
We are keeping things really simple to ensure the recipient understands the message and service. Now that we are ready to start on the second side, we can simply click on the “Add a new page” button below the work area.
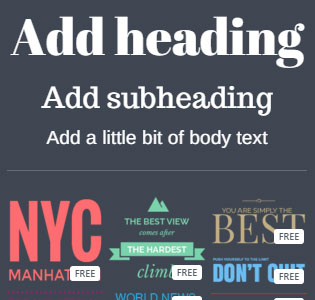
Add your text and logo
Now that we created a second side, we need to add some text. Canva allows you to add titles, headings, body text and provides many preset fancy text setups as well. This is also a good time to upload your logo if you haven’t already.
On the finished second side, we uploaded a logo, added a message and call-to-action plus contact information. The right side will be used for address labels and postmark.

Download the final design
Now that we are completed, we need to save our design. On the top right corner is a large download button which will provide four save options. Use “PDF: Standard” for proofing purposes then “PDF: Print” for high quality printing. Saving a high quality image will cost $1, but will be necessary if you are submitting to a commercial printer like us.

A few tips
Don’t try to change the design you selected too much. This ensures the layout remains professional.
Keep it clean. Stay on target with your message and be stingy about what details and contact information is provided in an attempt to portray your message to recipients in a glance.
Adding a call-to-action is essential for any postcard campaign. Be sure to add one. We added “Call Now” on the back of this card.