The concept of a bleed area can be challenging to grasp for many of us. Don’t feel ashamed about that. I have hired many educated graphic designers, and many trained for months before wrapping their heads around it. Hopefully, this article will help you understand how to properly set up bleed area.
First, what the heck is bleed area?
Bleed is the area where elements touch the edge of the page, extend beyond the trim edge, and leave no white margin. When a document has bleed, it must be printed on a more massive sheet of paper and then trimmed down.
The bleed area is essential but manageable.
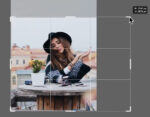
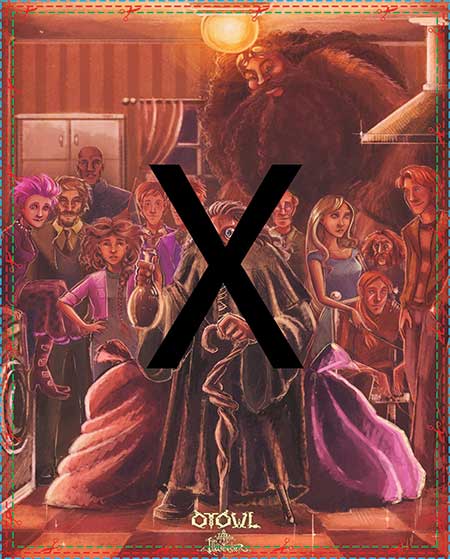
The below artwork was submitted to us the other day by a very talented artist. Since he ordered 8″ x 10″ prints, he correctly sized his file 8.25″ x 10.25″ providing the extra bleed area we require. At least, that is what he was probably thinking.
You should not add ANY borders to your art as a way to add bleed area. Many people do want white margins on their prints. If that is the case, it should be present within the safety area (which we will show soon). If you desire “full bleed” or “edge-to-edge” printing, your art should stretch to the edges. This method means artwork for 8″ x 10″ printing should be 8.25″ x 10.25″. Other online print companies may require more or less trim area than us.
Let’s learn how to properly set up bleed area by reviewing the different ways this client could have handled his artwork.
Properly Set up Bleed Area
Example 1
The above example shows the original art submitted to us with a border, but the border starts at the cut line. It is not clear if the artist wants the print to reach edge to edge or include a white border.
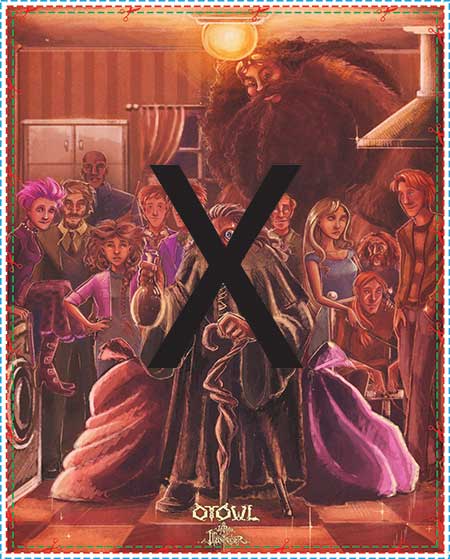
We think the customer desires full-bleed, so this art will not work out. Remember, the cut can take place anywhere inside the bleed area. That bleed area consists of all the space between the dotted green and blue lines. Please take note of the dotted red line since it is the estimated trim line. If we did not fix this art, the customer would likely receive prints with uneven margins, and the final product would look terrible. We will not leave files this way.
Example 2
Example 3
Example 4
Example 5
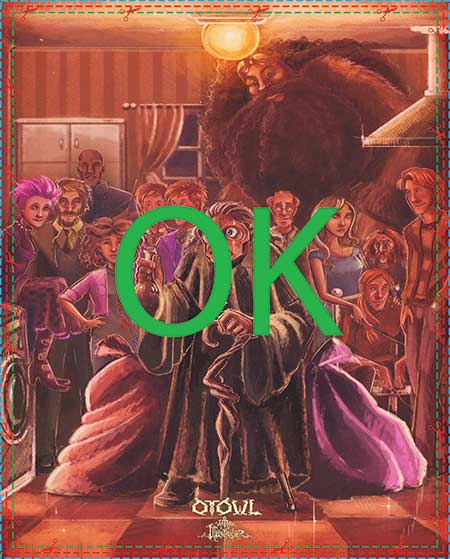
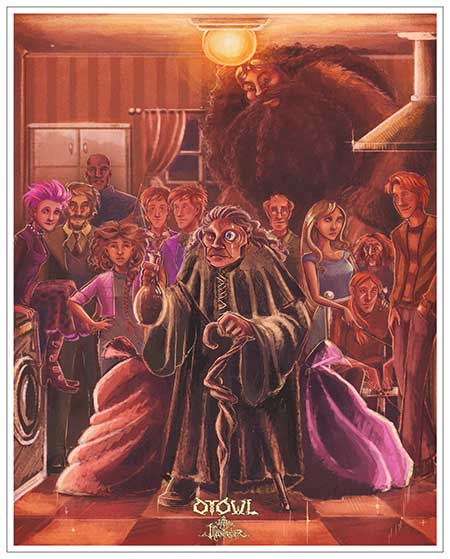
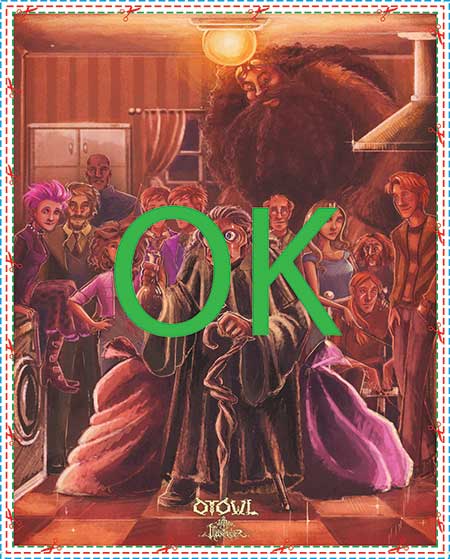
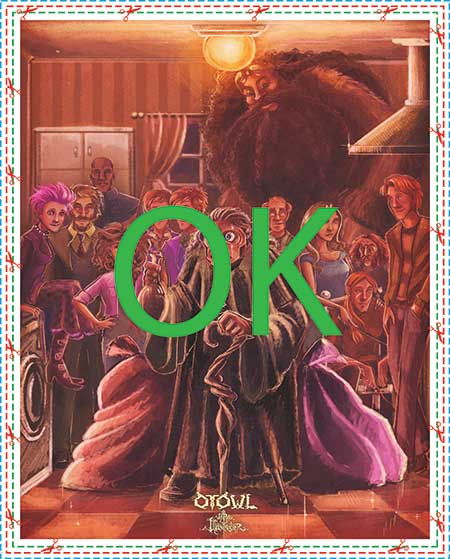
This final example is preferable. The image reaches the edges, there are no borders, and the logo is not at risk. There are many tactics to fix bleed. In this case, adjustments required a little “transform” magic via Adobe Photoshop by our staff. Our company offers this service for free, and we charge $9 for instances that require a little more work. If you keep your essential elements and text at least .25″ away from the edges, you will never run into trouble with bleed.
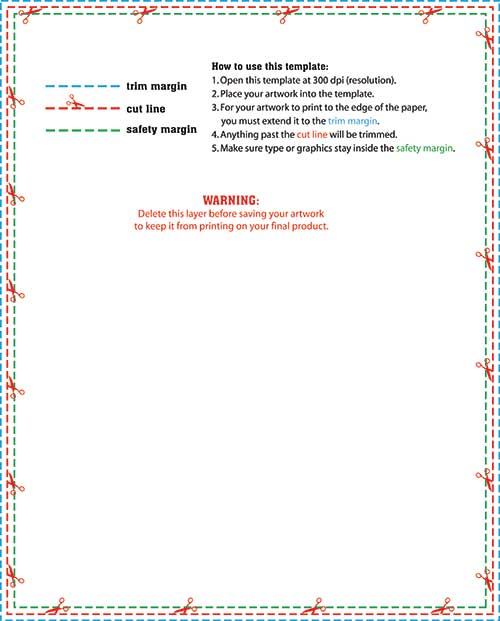
The Template
For almost every print product, we offer downloadable templates like this one. This PDF file allows you to visualize the bleed area as you place your art into it using Adobe software. I wanted to show you where the bleed lines originated. Every product on our website includes a link to the appropriately sized file.
Conclusion
Again, don’t feel bad if you are still confused about the bleed area. If you choose Printkeg as your printer, our artists review all artwork before production begins. Good luck on your next project!